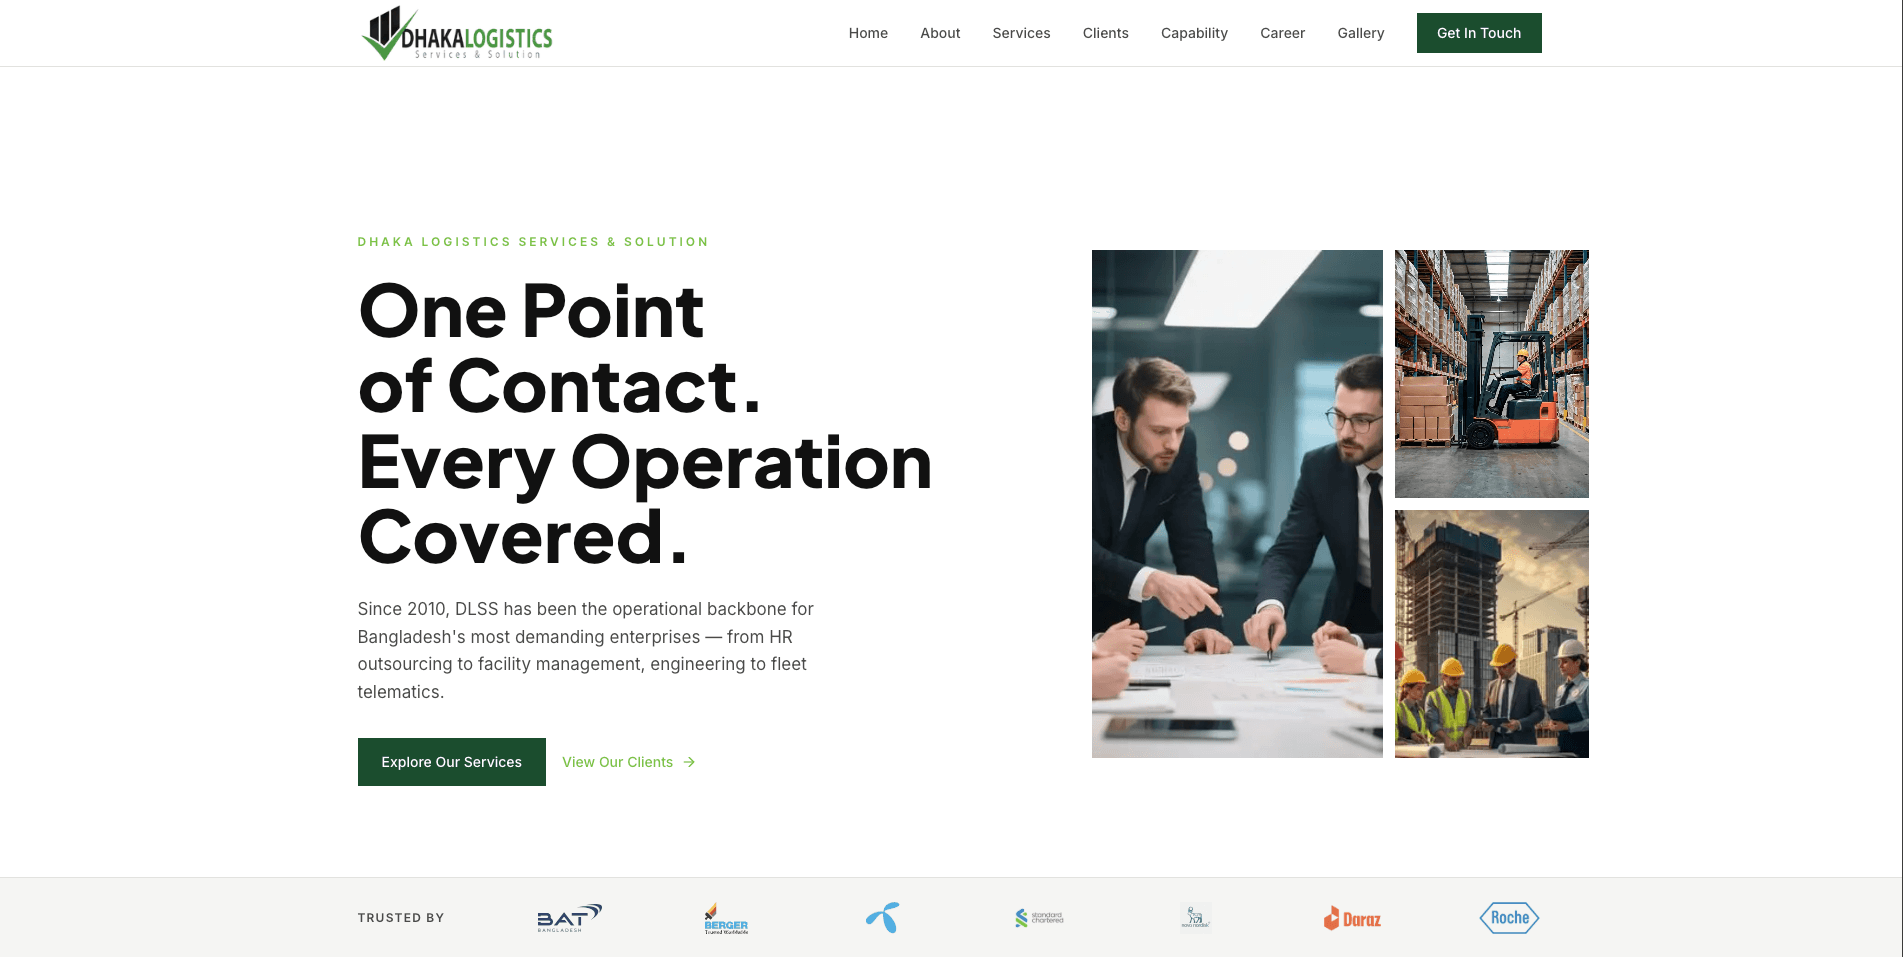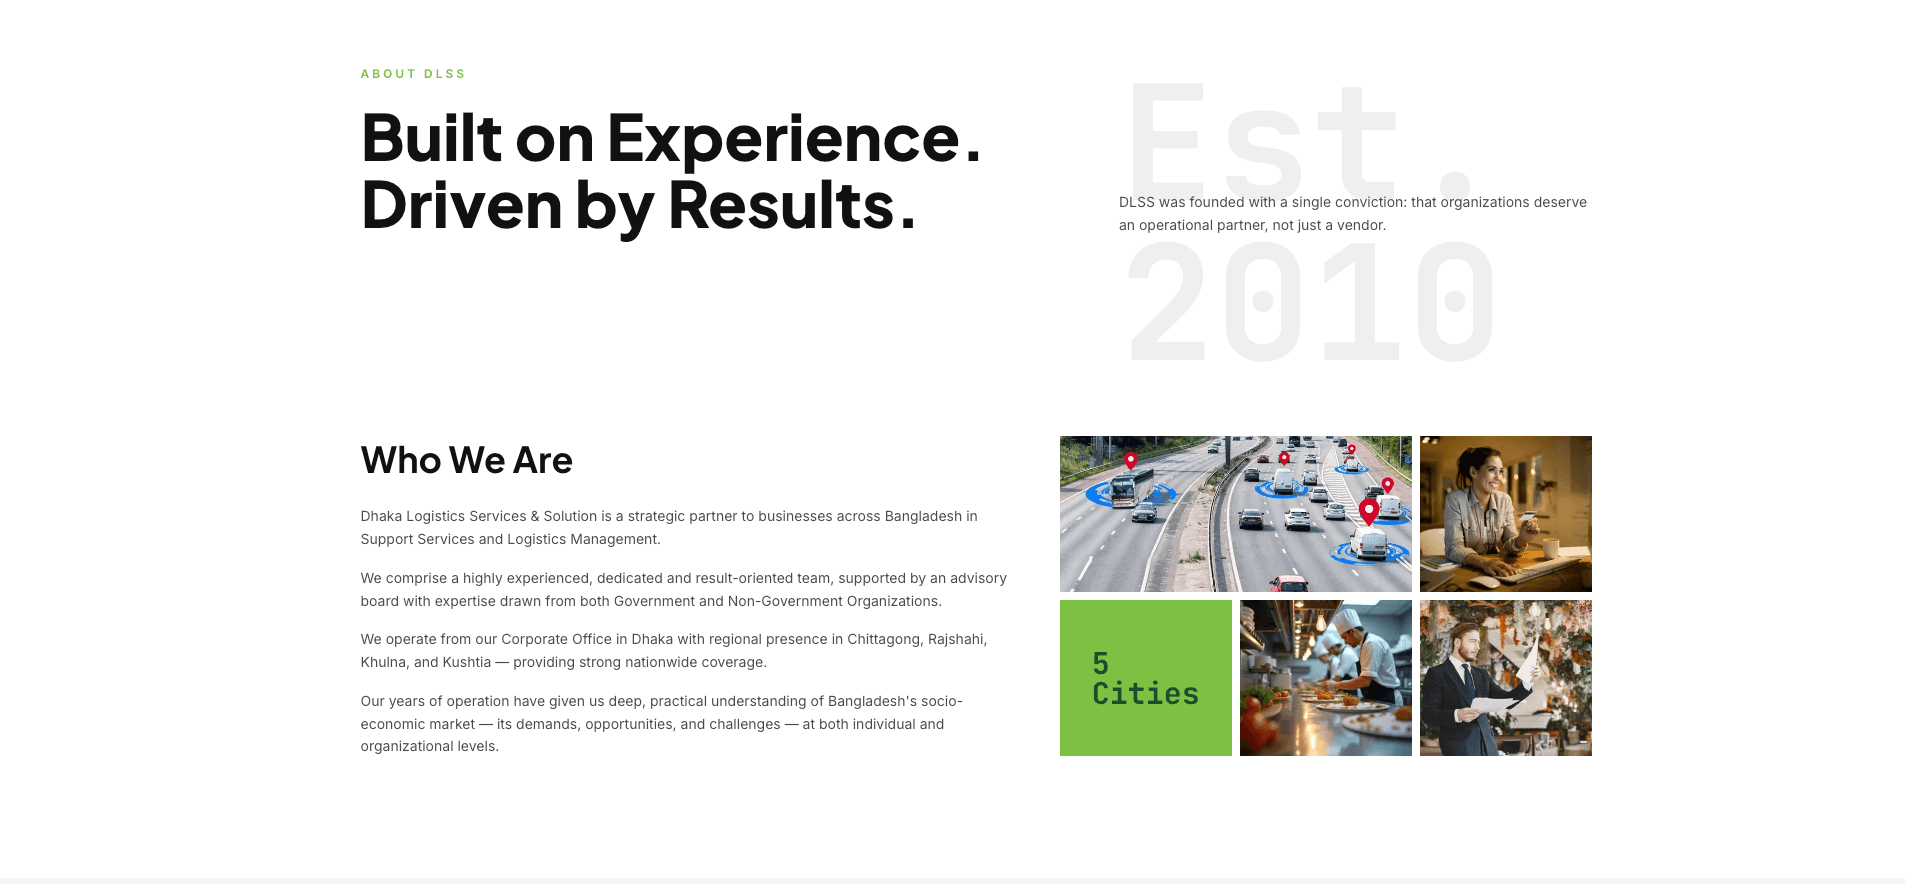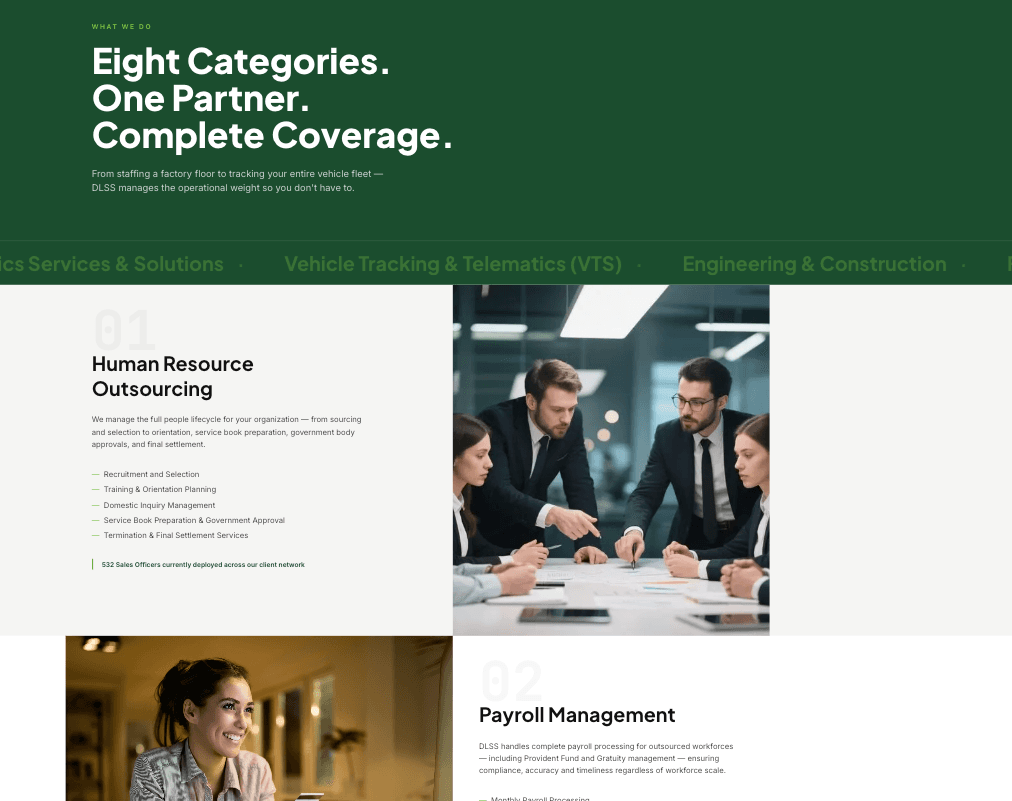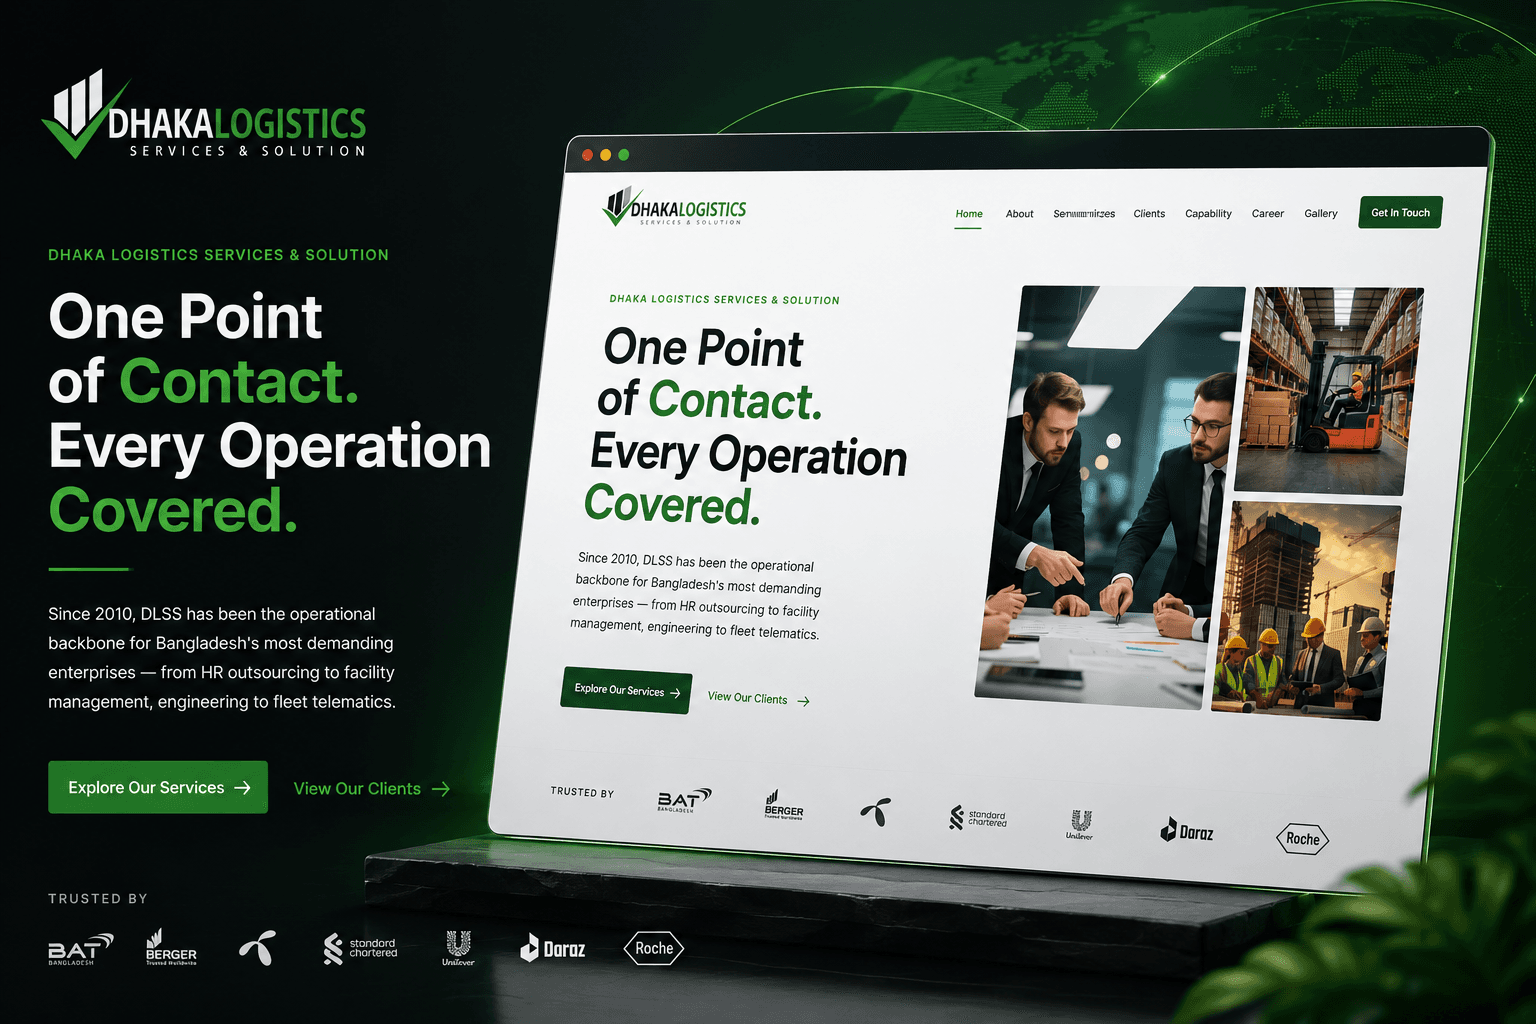
Dhaka Logistics Services & Solution (DLSS) required a modern digital presence that reflected its position as a trusted operations partner for leading enterprises in Bangladesh. The objective was to replace a conventional corporate website with a premium experience that communicates trust, operational excellence, and the breadth of its services. We designed and developed a high-performance website with a clear information hierarchy, engaging visual storytelling, and a refined user interface. The experience emphasizes the company's core value proposition—providing organizations with a single point of contact for operational services—while making complex offerings easier to understand and navigate. Built with performance, responsiveness, and scalability in mind, the website strengthens the company's online credibility and creates a professional experience across desktop, tablet, and mobile devices.
The Challenge
- Presenting multiple corporate services without overwhelming visitors.
- Building trust for enterprise and multinational clients.
- Improving navigation across diverse service categories.
- Creating a premium corporate identity aligned with the company's reputation.
- Ensuring fast performance and responsive design.
The Solution
- Designed a modern enterprise-focused interface with strong visual hierarchy.
- Created dedicated service sections for improved discoverability.
- Added trust-building elements such as client logos, statistics, and company highlights.
- Optimized layouts for desktop and mobile devices.
- Built a scalable architecture ready for future business growth.
- Focused on clean typography, performance, and conversion-oriented user journeys.